Build and deploy huge static websites with Caddy
I will show you how to setup the hosting and deployment of a static website with thousands of pages dynamically built. It uses the Caddy web server and a Digital Ocean's droplet - but it would work with any Ubuntu server.
Introduction #
First of all, don't do it! #
There are very few cases where it makes sense to use such a setup. Netlify, among others, is a great hosting provider for static websites. It is way simpler to setup, it can run custom build scripts, it gives you HTTPS out of the box, and CDN delivery. All that for free! So really, try building your website there first.
In some cases though, you may reach Netlify's limits. I personally experienced failures on Netlify upon deploying a website with 20k+ pages. Even though the build part takes 2 minutes or so, deploys would hang on the upload step.
Why not host it on S3 ? #
The next reasonable option would be to host the static website on S3. It's a pretty common setup too and is well documented by AWS.
Because builds should be automated, I tried setting up an AWS Lambda function that runs the build and uploads the files to S3. After 2 days of headaches fighting with the AWS docs to understand how to make it work, I managed to finally run it. Only to find out that the upload process from the AWS Lambda local storage to S3 is not fast enough.
I tried parallelizing the uploads using threads, but it was still too slow. I managed to get to about 500 pages/minute but the Lambdas have a maximum timeout of 15 minutes so it's not enough. In any cases, a build that takes more than 15 minutes would not have been satisfying.
I'm not an AWS expert, but the whole process was so frustrating that I decided to go old-school and host it on a server I control.
Server setup #
I chose to use Digital Ocean (aka DO) for hosting my server, but most of these instructions would be applicable to any other provider (Scaleway, Vultr, Exoscale ...).
DO has a great blog about Deploying a Fully-automated Git-based Static Website in Under 5 Minutes which helped me a lot. I have condensed the instructions into a shell script: https://gist.github.com/adipasquale/05e432157fcba07b0d2a8cbfdf326670. If you're not familiar with this kind of setup, I suggest you follow the blog post instead of running the script.
In order to run the script, SSH into the newly created server and:
wget -O - https://gist.github.com/adipasquale/05e432157fcba07b0d2a8cbfdf326670/raw | shHere is a quick summary of this script:
- It installs the Caddy server
- It creates a systemd service
- It sets up Caddy to listen to a subdomain of nip.io
- Caddy will use Let's Encrypt to get you a valid SSL certificate so that HTTPS works out-of-the-box.
- It uses the Caddy git plugin to automatically stay in sync with this repo: kamaln7/basic-static-website
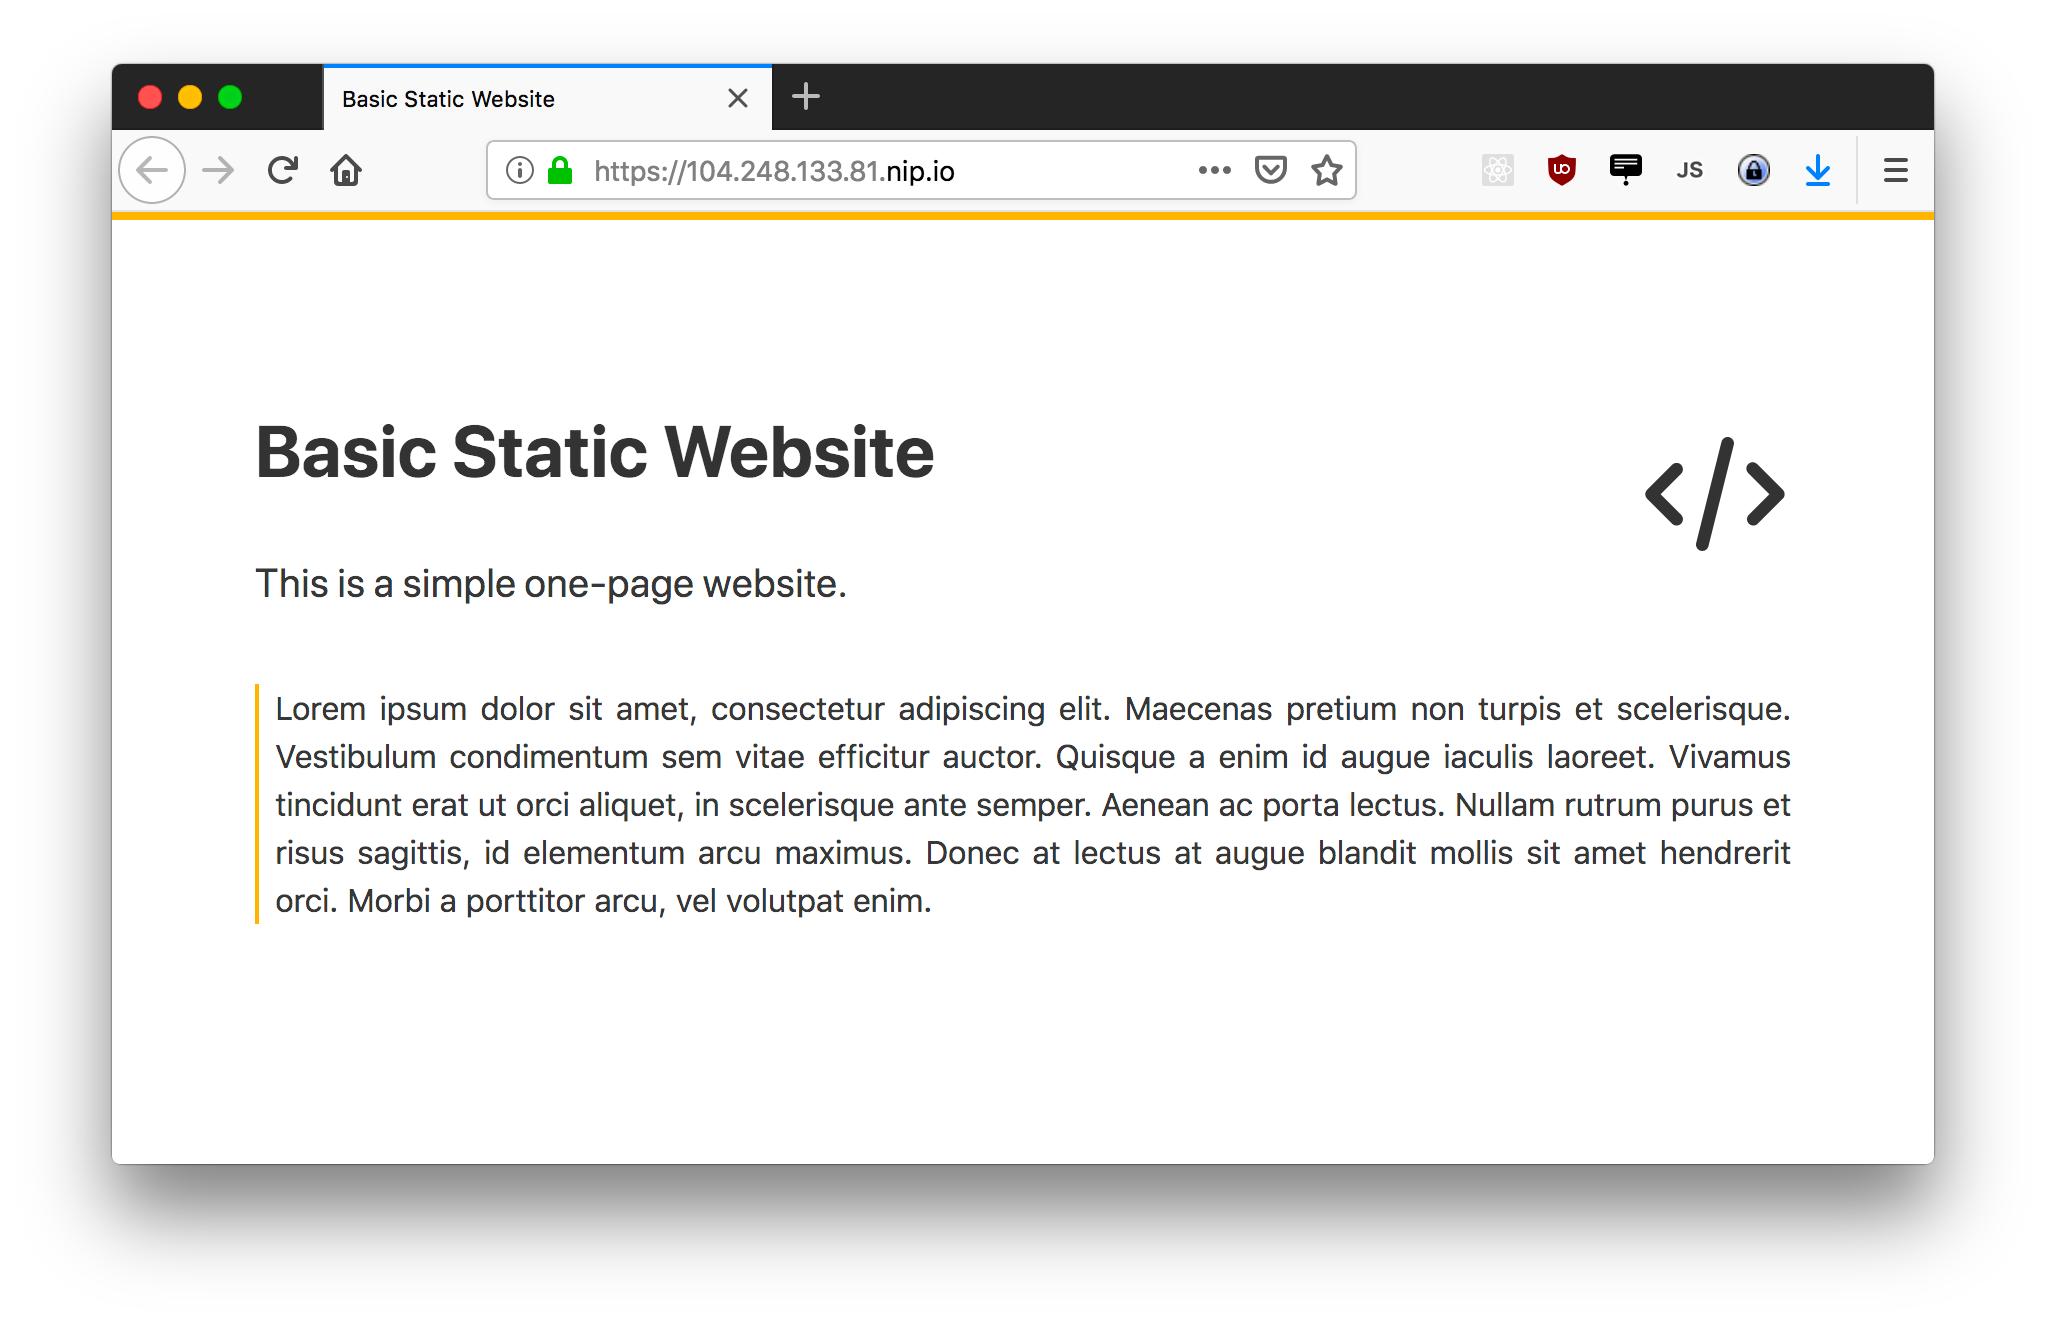
The last output should point you to an URL that looks like https://YOUR_SERVER_IP.nip.io:

(notice the green lock :)
In case it does not work properly, you can run this command on the server to see logs and exceptions from Caddy:
tail -f /var/log/syslog
Important Note: We are skipping a lot of important steps for an actual production server here:
- You should follow this DO guide for securing your Ubuntu droplet
- You should create a DO Firewall here and allow SSH, HTTP, and HTTPS inbound traffic
- If you own a domain name, you can add an DNS record of the A type that points to your droplet's IP, or follow this short guide to use DO's own name servers. Here, we are using nip.io to have a subdomain without any setup.
Dynamic build system #
Currently, the server is synchronizing with a very simple static website project, that has no build script at all.
We will now switch to a dynamic build system. The build script will create HTML pages from external data and template files, and the server will now serve the resulting files. This build script will be re-executed upon each git push to the repository.
For the purpose of this article, I have created a very simple static website builder: giantsite. It's a 50-lines Python 3 script, that queries a dummy API for 5000 photos, builds an HTML page for each and an index page that links to them.
First, fork giantsite.
Now let's update Caddy's configuration.
SSH into the server and update it with vim /etc/caddy/Caddyfile:
# /etc/caddy/Caddyfile

https://YOUR_SERVER_IP.nip.io {
    [...]
    git https://github.com/YOUR_GITHUB_HANDLE/giantsite /var/code/giantsite {
        interval 300
        then python3 /var/code/giantsite/build.py /var/www
    }
    root /var/www
}
(don't forget to replace the CAPITAL_PARTS with your infos)
Here is what we have changed:
- We have switched the GitHub repository from the static one to the dynamically built one that you just forked.
- We have also specified where the local repository should be stored:
/var/code/giantsite - We have added a call to the
build.pyscript from the fetched repo in thethenoption. It will be ran upon each new pull. - Finally, we have declared that the server's root is
/var/www. It defines the files that will be served.
We still have to perform a few steps in order for this setup to work. Again, ssh into the server and run these commands
# Install python3 (it's already installed on DO's droplets)
apt install python3

# Create the new folders and set correct permissions
mkdir /var/code/
mkdir /var/www/
chown www-data:www-data /var/code/
chown www-data:www-data /var/www/

# Restart Caddy, this will trigger a re-build
systemctl restart caddy
Note : You may have to use sudo here if you're not logged in as root
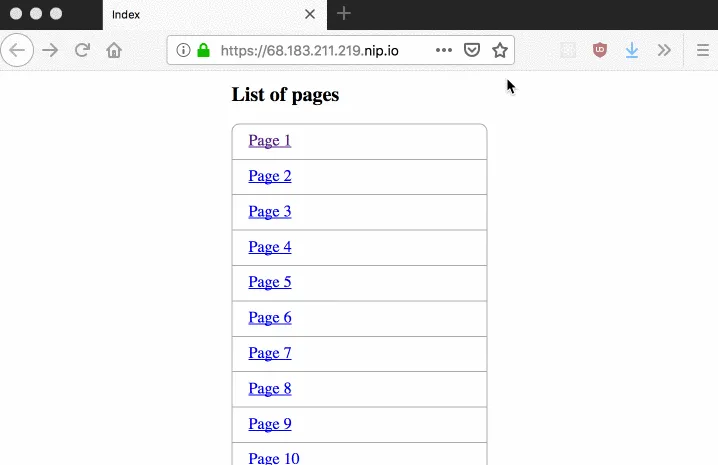
You should now be able to access your website and see the newly built website :

Auto-deploys on push #
Currently, our Caddy server will synchronize with the GitHub repository every 300 seconds or so. Let's setup a Webhook from GitHub to our server, so that it synchronizes and rebuilds upon each push.
First, open a terminal and copy the output from uuidgen.
We'll use this random string as a shared secret in our Webhook.
Now let's setup Caddy so it listens to the Webhook.
SSH into the server, and run vim /etc/caddy/Caddyfile :
# /etc/caddy/Caddyfile

https://YOUR_SERVER_IP.nip.io {
    [...]
    git [...] {
        [...]
        hook /github_hook YOUR_WEBHOOK_SECRET
    }
}
and again, restart Caddy with :
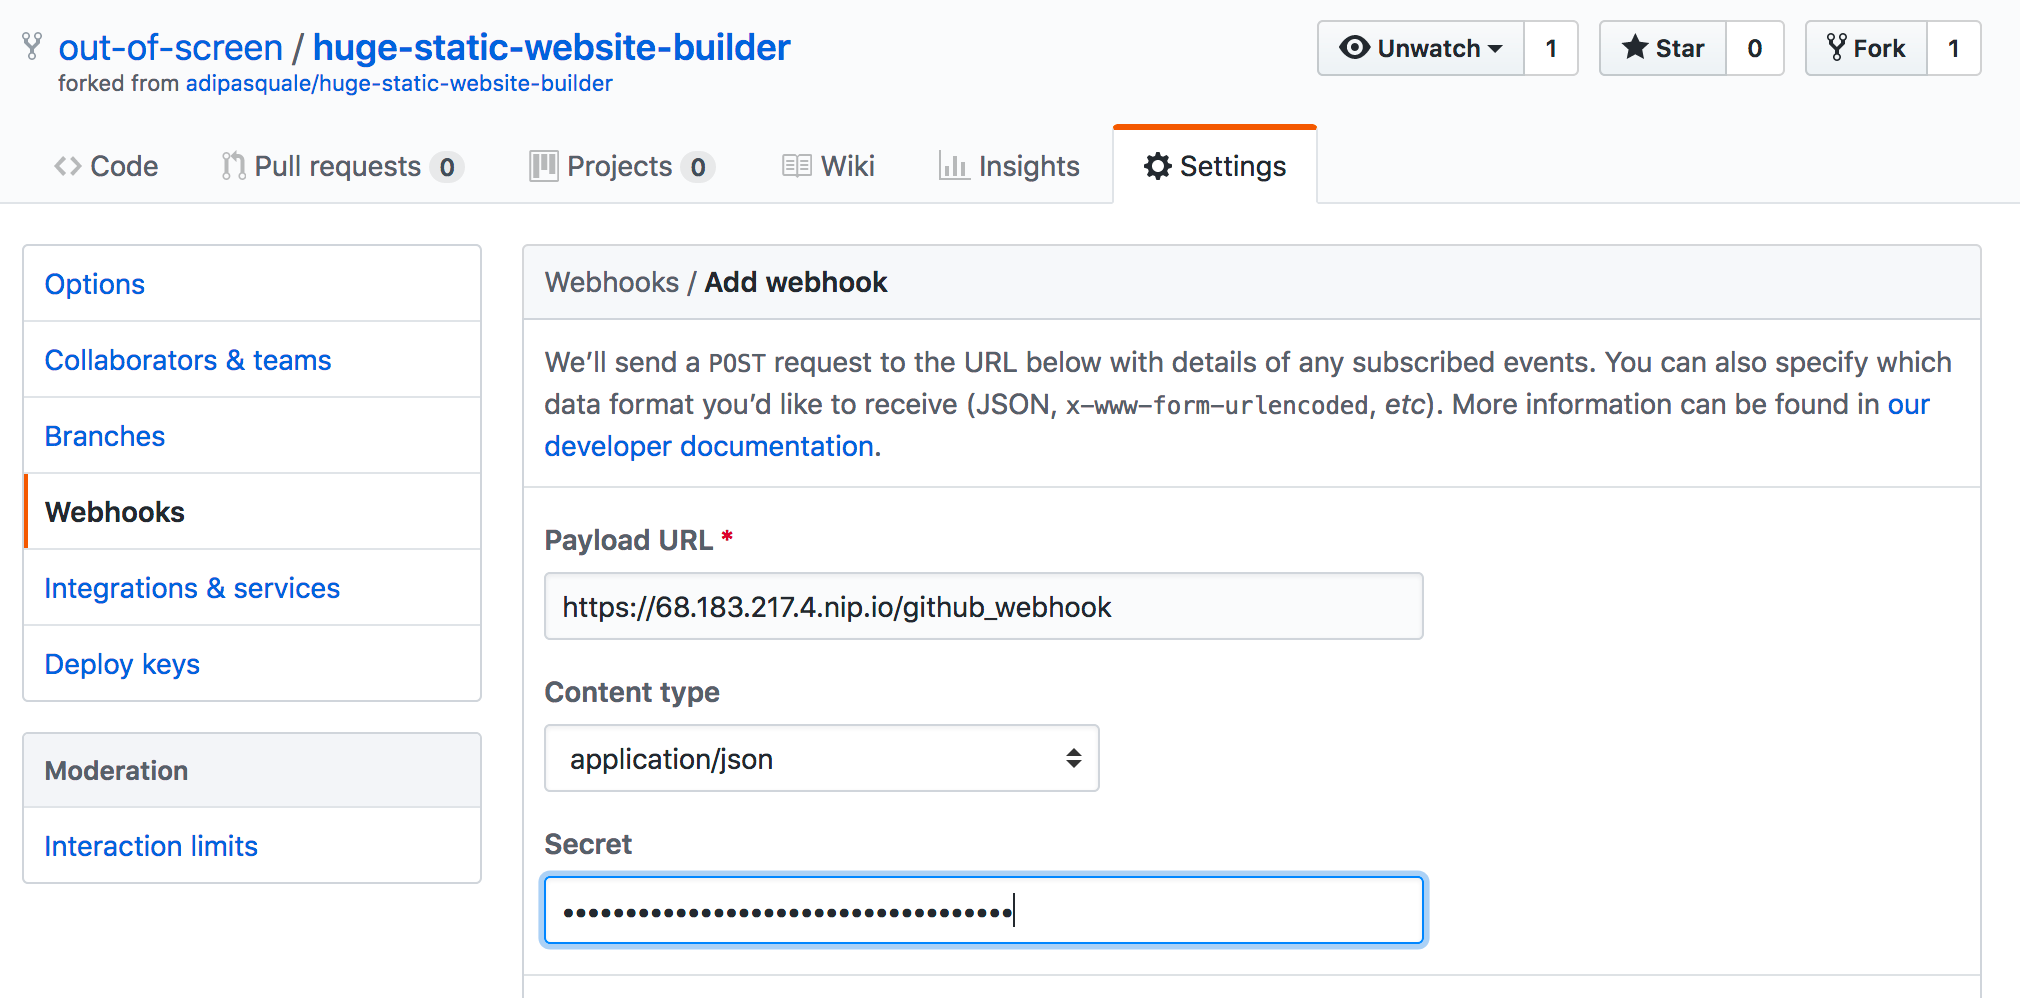
systemctl restart caddyThe last step is to go to your forked GitHub repository's Settings, and click "Add Webhook" in the Webhooks tab. Use https://YOUR_SERVER_IP.nip.io/github_webhook for the url. I suggest using a JSON Webhook, I've had issues with the regular ones

You can now try making a small change to the build.py script and pushing it.
Your Caddy server should pick it up within a few seconds, and rebuild the pages accordingly.
Bonus: API to manually trigger re-builds #
If your external data is updated, you may want to trigger a build even though the code has not changed. It can therefore be useful to have another Webhook that triggers rebuilds and is not linked to GitHub.
Let's setup a small server that listens to GET requests on /admin/rebuild and triggers builds.
I'm using bottle here, as it's the simplest one I can think of, but feel free to use any framework you like.
Create a new server.py file at the root of your forked repository :
# server.py

from build import Builder
from bottle import route, run


@route('/admin/rebuild')
def rebuild():
    Builder("/var/www").build()
    return 'Rebuild done !'

run(host='localhost', port=8000, debug=True)
Commit it and push it so that your server picks it up.
Now, SSH into your server and install bottle:
apt update
apt install -y python3-pip
pip3 install bottle
You need to create another systemd service for this bottle server:
# /etc/systemd/system/bottle.service

[Unit]
Description=Bottle server
After=syslog.target

[Service]
Type=simple
User=www-data
Group=www-data
WorkingDirectory=/var/code/giantsite
ExecStart=/usr/bin/env python3 server.py
StandardOutput=syslog
StandardError=syslog
Restart=always
RestartSec=2

[Install]
WantedBy=bottle.target
This new service can be started with:
systemctl start bottle
systemctl enable bottle
And we also have to update the Caddyfile so that external requests are directed to this bottle server:
# /etc/caddy/Caddyfile

https://YOUR_SERVER_IP.nip.io {
    [...]
    proxy /admin localhost:8000 {
        transparent
    }
}
Note: I used a namespaced route /admin here but you're free to do as you please. Be careful that it matches what bottle expects though.
Finally, restart Caddy so that the changes are applied:
systemctl restart caddyPhew! You should now be able to trigger a rebuild with a simple:
curl https://YOUR_SERVER_IP.nip.io/admin/rebuild🛠 Build, Build, Build 🛠
Conclusion #
This setup makes sense only in rare situations, namely when you are building thousands of files.
It's an interesting experience though, as it shows how easy and convenient Caddy makes it.
The git plugin is particularly cool, it's so nice to be able to deploy with a simple git push.
This setup is not ready for production, make sure to add some security measures! The rebuild API is completely unprotected for instance.
Let me know what you think!